


This post may contain affiliate links. Read my full disclosure policy.
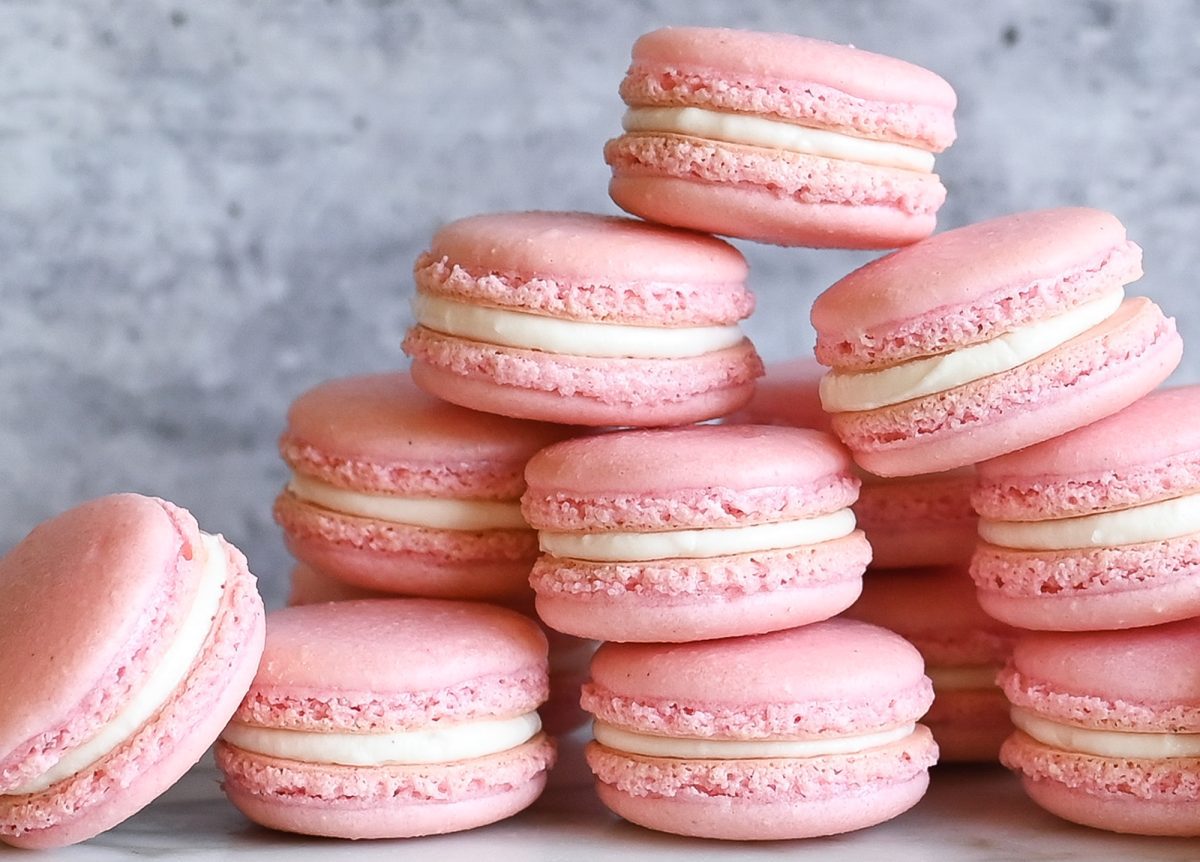
Learn to make classic French macarons with this easy recipe, complete with all the tips you need to create the most joyful cookies on the planet.

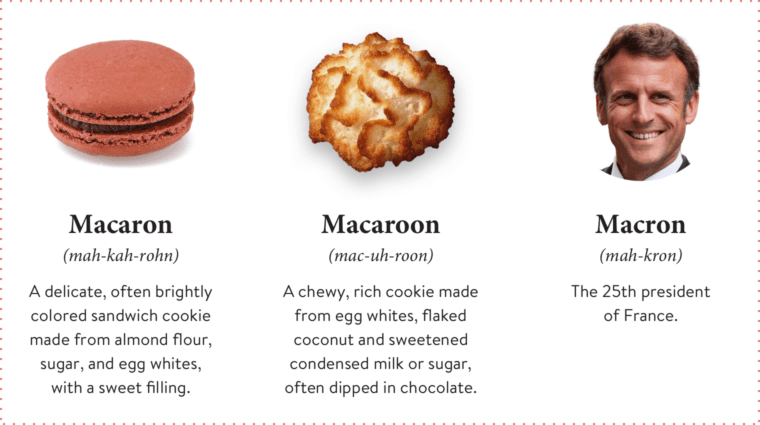
Know Your Cookie: Macarons VS Macaroons
Making French Macarons
Given their temperamental nature, French macarons require precise measurements. This recipe provides metric measurements only because, to achieve success, you must weigh your ingredients using a digital scale. However, once you master the basics of making macaron shells, the creative options are endless. You can marble the color of the shells, vary the sweet fillings, roll the edges in nonpareils, or dip them in chocolate. This recipe guides you in creating classic vanilla-flavored macarons, but if you’re ready for a fun twist, be sure to check out my chocolate macarons recipe next!
The cookies are best when they’ve had a few days to “age” in the fridge, which allows the shells and filling to meld together into one cohesive cookie. Place the assembled macarons inside an airtight container, refrigerate them for 1 to 2 days, and then let them to come to room temperature before serving.
Macaron Filling Options
You can fill macarons with anything, from cream cheese frosting and Swiss meringue buttercream to lemon curd, jam, and chocolate ganache. My favorite filling for vanilla macarons is Swiss meringue buttercream because it’s not too sweet — the macaron shells are plenty sweet on their own.
Step-by-Step Instructions
Step 1: Prep
Fill a small saucepan with about 1 inch of water. Bring to a simmer on the stove over medium-low heat. Line two 13×18-inch baking sheets with parchment paper or Silpat baking mats. Place the pastry bag fitted with the ½-inch round tip in a wide glass with the tip at the bottom of the glass but facing up (this prevents the batter from spilling out when you fill the bag). Fold the piping bag over the rim of the glass to form a cuff.
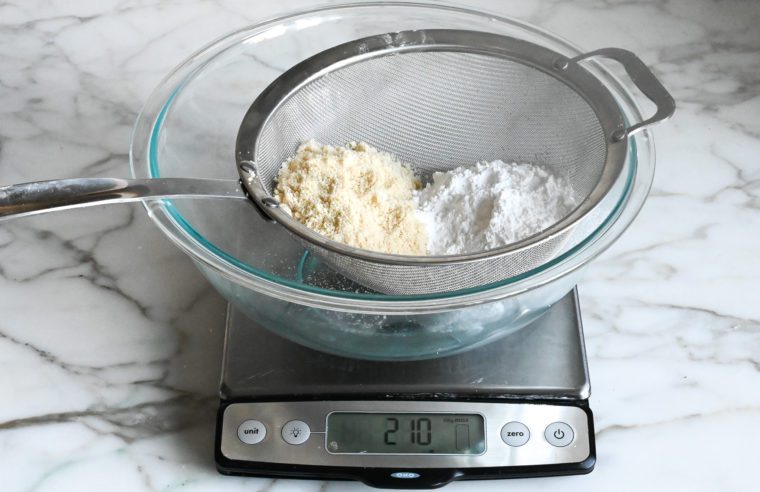
Step 2: Weigh and Sift the Almond Flour and Confectioners Sugar
Add the almond flour and confectioners sugar to a fine mesh sieve placed over a large bowl.
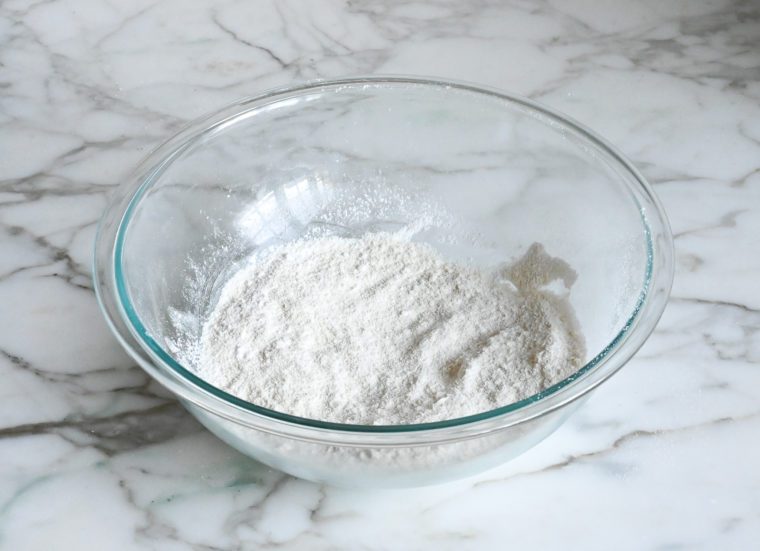
Sift the almond flour and confectioners’ sugar together through the sieve. Alternatively, if your almond flour is too coarse to go through the sieve, whisk the confectioners sugar and almond flour in a bowl, rubbing out any stubborn lumps with your fingers.
Step 3: Make the Meringue
Add the egg whites and granulated sugar to the bowl of a stand mixer.
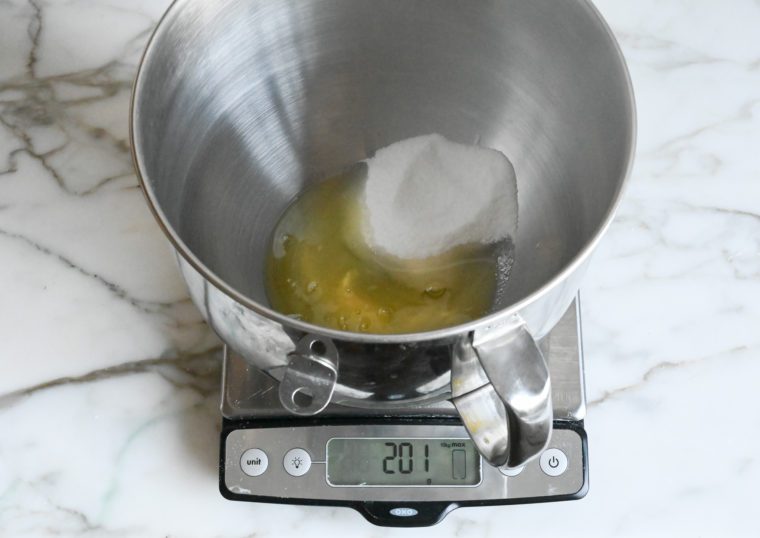
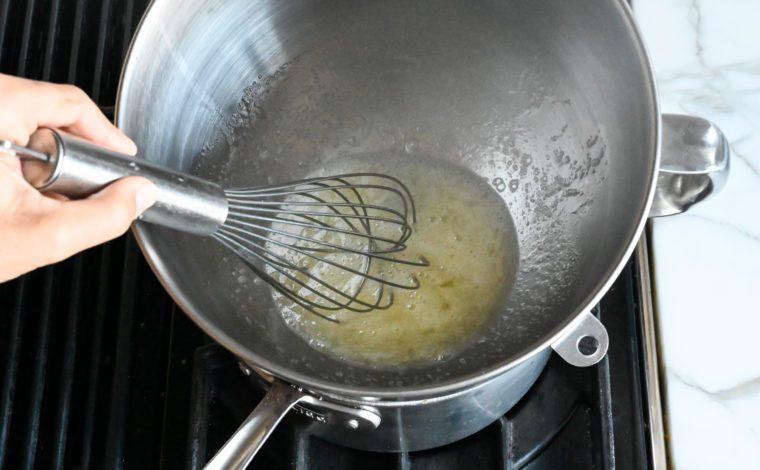
Whisk to combine. Place the bowl over the saucepan of simmering water, making sure the bottom of the bowl is not touching the water. Whisk constantly until the sugar is completely dissolved and the egg whites are very warm to the touch, about 2 minutes.
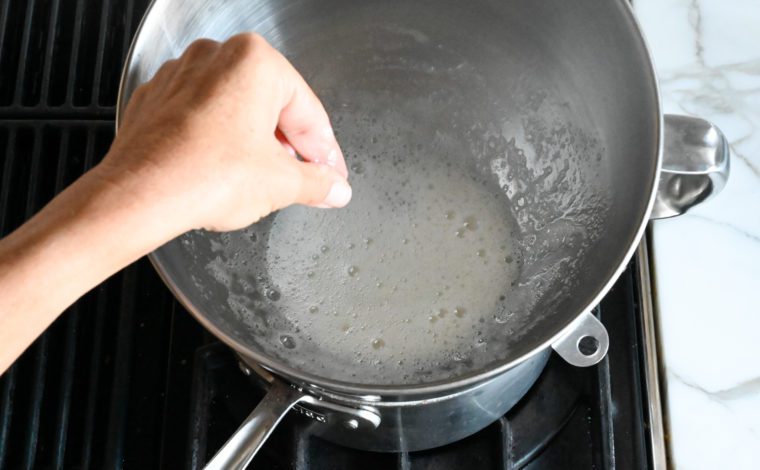
To see if it’s ready, rub the mixture between your fingers — you shouldn’t be able to feel any sugar granules.
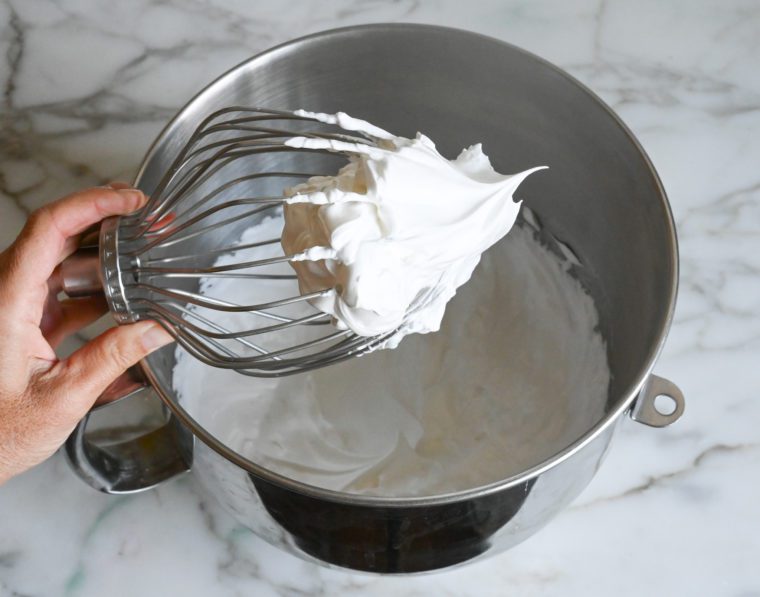
Remove the bowl from the heat and attach to the stand mixer fitted with the whisk attachment. Mix on medium-high speed (speed 8) until the meringue is glossy and holds stiff peaks. For me, this takes 6 to 8 minutes, but the time will vary depending on the wattage and size of your mixer.
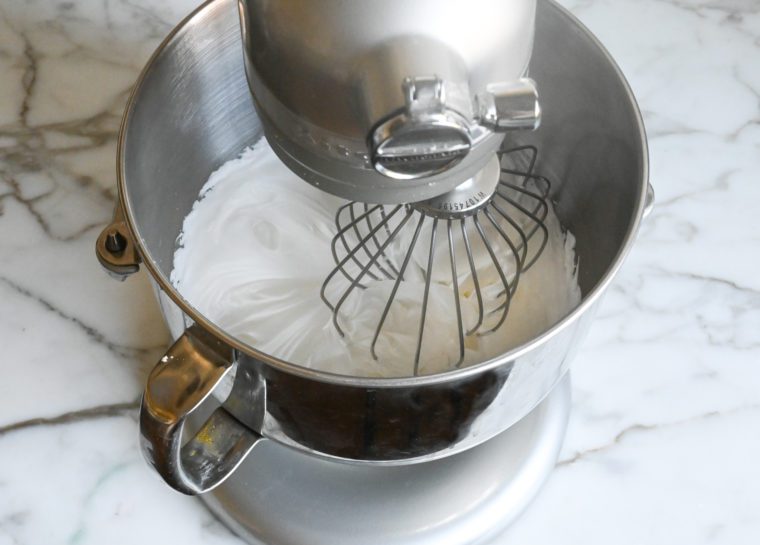
You’ll know it’s ready when you lift the whisk out of the bowl and the peaks stand straight up.
Step 4: Mix the Macaron Batter
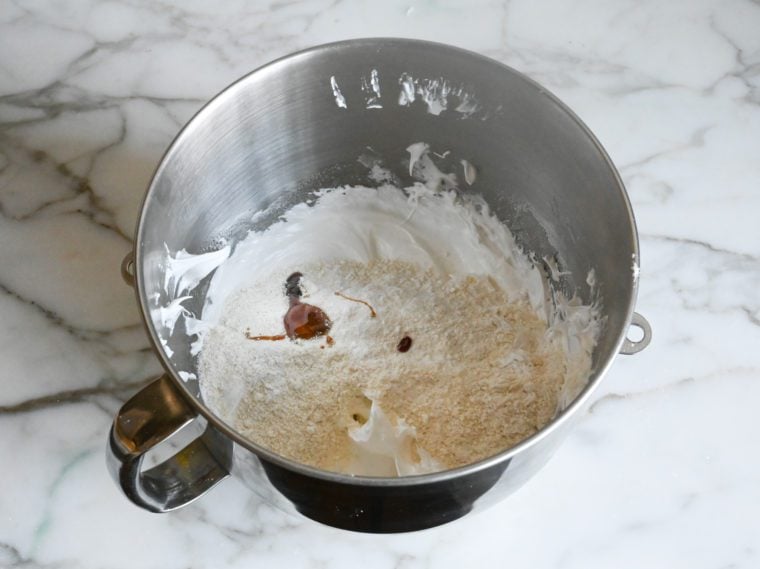
Pour the sifted almond flour and confectioners’ sugar mixture into the bowl with the meringue. Add the vanilla bean paste and food color.
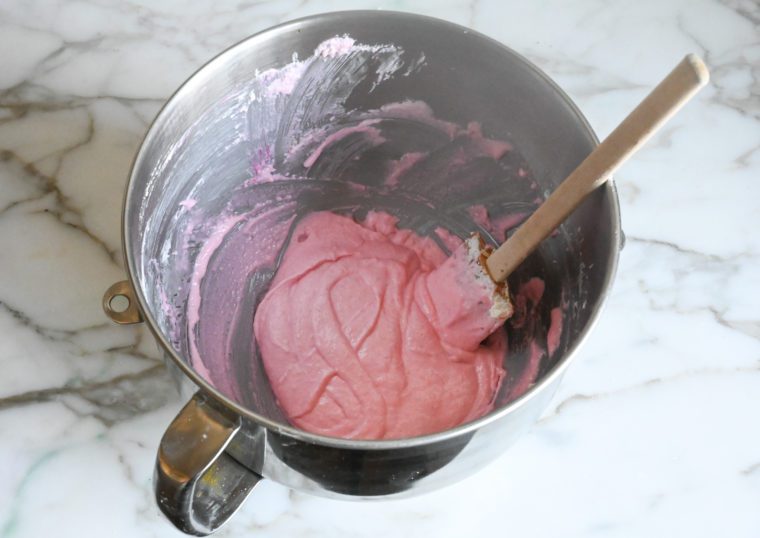
Using a rubber spatula, fold until evenly incorporated. At this point, the batter will be very thick.
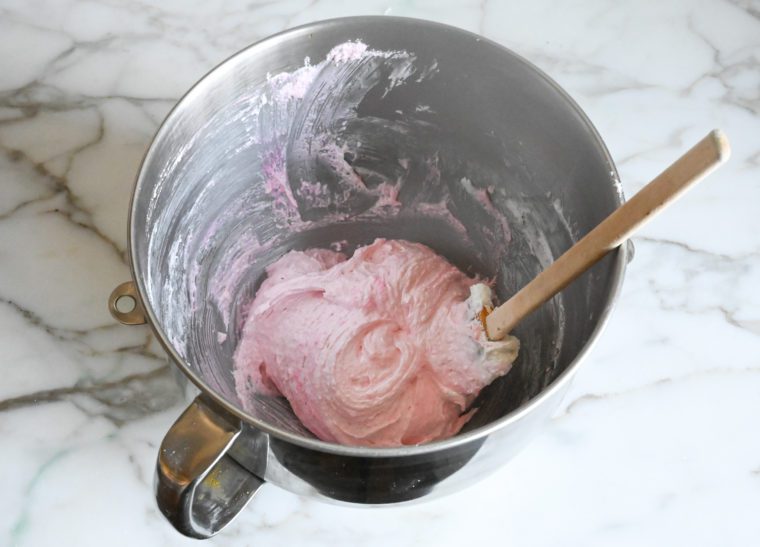
To achieve the right consistency, continue folding, occasionally smearing the batter against the bottom and sides of the bowl.
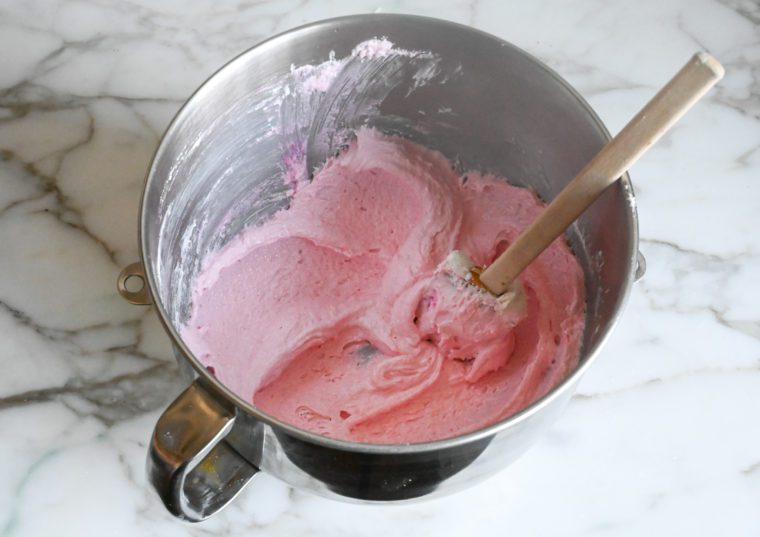
This process is called macronage. The time it takes to reach the proper consistency varies, but usually takes me 5 to 8 minutes (it’s an arm workout!). You’ll know the batter is ready when it is glossy with a lava-like consistency, and you can lift up the spatula and slowly form several figure 8s with the batter without the ribbon breaking.
Additionally, the batter from your figure 8s should dissolve into the batter that’s already in the bowl, just leaving a faint outline, in 10 to 15 seconds. Be careful not to overmix or you’ll end up with macaron puddles; it’s always best to undermix and test several times until the proper consistency has been achieved.
Step 5: Pipe the Batter Onto Baking Sheets, Rest & Bake
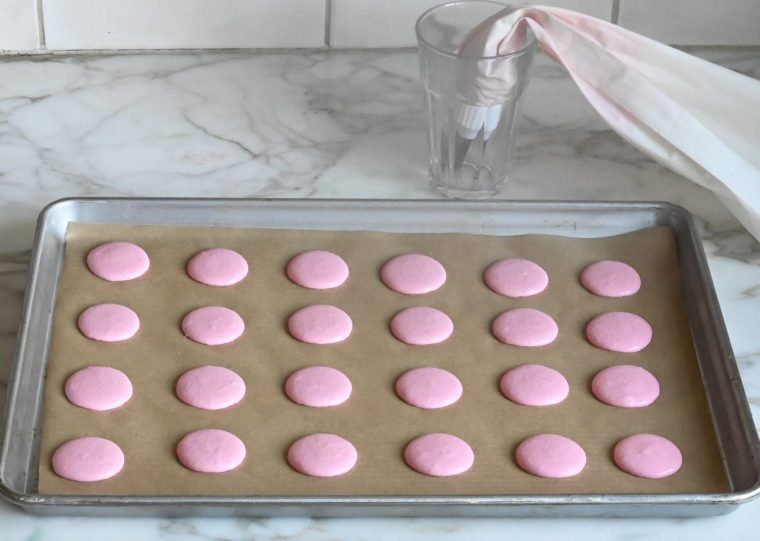
Transfer the batter to the pastry bag. Hold the bag straight up and down, perpendicular to the pan, about ½ inch above it, and pipe out 1¼-inch diameter mounds onto the parchment paper. I eyeball it, but if you prefer a template, you can use macaron silpat baking mats, which have a template to guide you. (To avoid leaving a point on the mounds, finish piping by releasing pressure and pulling up as you quickly twist with a flick of your wrist.)
Tap each tray several times on the countertop to pop any air bubbles. Use a toothpick to pop any remaining air bubbles on the surface of the shells. Allow the trays to rest for about 20 minutes, or until the shells have dried out slightly.
Meanwhile, preheat the oven temperature to 325°F and set an oven rack in the middle position.
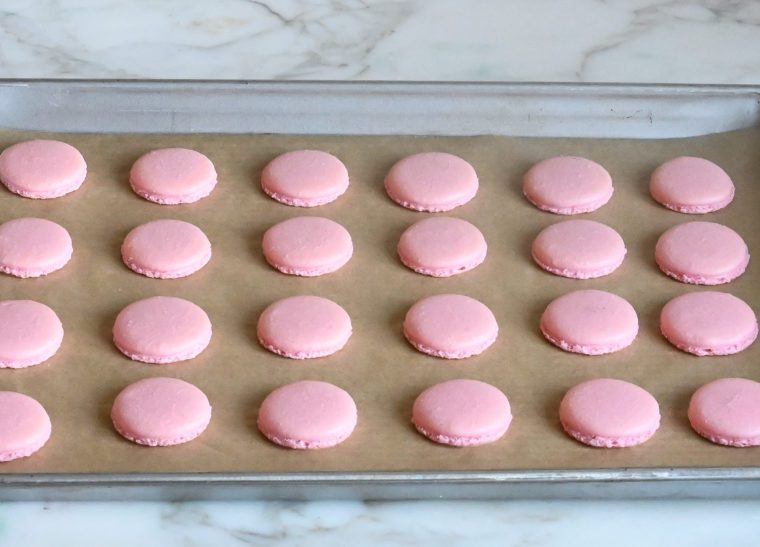
Bake one pan at a time, for 12 to 14 minutes, or until the tops are shiny and crisp. Set the pans on wire racks and let cool completely. Store the shells in a covered container in the refrigerator. (It’s fine to stack the shells; just be gentle with them.) You can also freeze the shells in a tightly sealed container for about two weeks. Make sure to thaw them in the refrigerator for a few hours before assembling.
Step 6: Fill the Cookies
Prepare your filling of choice. Remove the macarons from the parchment paper, and turn half of them over. Pipe or spoon about 2 teaspoons of the filling in the center of one upside-down macaron. Top with a second macaron and press gently to spread the filling to the edges. Repeat with the remaining macarons. Store the macarons in a covered container in the refrigerator for up to 2 days; bring to room temperature before serving.
